Tuesday, May 10, 2011

Mothers Day Gift 2 of 2

Since I have already given my mom a folded card, had to think of something new for her! Made this all from scratch, the frame was on sale, 50 percent off at Micheals I think, so maybe 4 bucks, painted it white, and added bling and photos! LOVE IT! She has not seen this yet, she and I both not felt the greatest on Mothers Day, so I need to get over to get this to her yet this week.. I know she will love it!


Mothers Day Gift 1 of 2

I absoultley adore these fold cards from Creative Memories. I have heard they are being discontinued so quite bummed, but with a bit of pictures and a bit of bling, they make the CUTEST mother days cards for Rockys mom! Of course it was pics of the girls, but she LOVED it! This is the start, I will have to get the other pics of the camera later! :)

Scrapbook Pages

Been some time since I have posted, but I have been busy busy!! Pages galore ENJOY!


Wednesday, December 22, 2010

Coaster Calender... Teacher Gift # 2


For my oldest daughters teacher, (fourth grade) I found this CUTE coaster set at the Local Scrapbooking store, Memory Bound. I ran into a friend while there, (LOVE YA Michelle) and she gave me a GREAT idea for what to do with them.. SO I did! Enjoy!!


Crayon Wreath, HUGE Success !

I loved making this one, and the giving it was even better. I gave this to my youngest daughter PK teacher, and being today is going to be her last day there, due to me accepting a new job, I wanted to make the goodbye special.

Anyhow, heres the picture...

For this project I used the following:
  • 8" wooden embroidery hoop
  • 12" wooden embroidery hoop
  • a roll of any type of ribbon
  • at least 70+ crayons
  • several tpes of wooden decor, in this case a large apple, school buss and several small decals, little kids, pencil book and then the alphabet set.
  • I also got from the dollar tree a chalkboard.

My directions;
  1. Cut the chalkboard to 8" round.
  2. Remove the metal screws from the hoops and hot glue them back together
  3. Take Crayons and hot glue them label side facing the same way, to both the 8 inch and 12 inch hoops. Make sure to pack them in pretty tight, I probably could have used more crayons in mine... Make sure that smaller hoop fits inside larger hoop evenly
  4. After gluing them all down, LET IT DRY! :)
  5. Run a slip knot braid throughout the crayons to add color. I did an over/under dealio.. not sure if I can describe it..
  6. I made sure it was all dry and fixed nice, then began adding the wooden pieces as you see.
  7. I then took the chalkboard, and glued it to the backside of the 8" hoop. Added some more wooden deco and called it done...
  8. You can use chalk to write on the chalkboard as well, and I did just write WELCOME on this one. Let the teacher know she can change it to however she wants.

Monday, November 22, 2010

It's Been Awhile I Know.....

SOooo.. its only been since July since I have posted last.. its only because I haven't done a thing with my scrapbooking!

I was lucky enough to spend a weekend scrappin with a friend, at a Creative Memories consultant retreat... I bought for the first time a cute little accordian card. It was only 16.00 and included some ribbon, and some paper flowers. Anyhow, here it is:


Friday, July 16, 2010

Its a Blog Hop... BLOG HOP!!!

WELCOME!!!


Being that this is my first blog hop, I am just excited to be here, to get inspiration from others. (and finally find out what this blog hop is all about! Hopefully you joined me from a fellow fairy, Sheryl's Craftin Corner,

I am part of the Cricut messageboards Cricut Card Fairies, and a blurp posted from our commander in chief as follows :)

"Let me tell you about the CRICUT CARD FAIRIES first. They sprung from an idea that I had (Cards for Soldiers); I figure hey our Soldiers loved the card we were sending, why not use our massive amounts of supplies and talent to help anyone that needs a pick me up or lift. So I asked on the cricut messageboard in April 2008 and two years and 620 plus missions later we are still going strong. We are a group of VOLUNTEERS who love our circuts, love making cards, and love spreading cheer through said cards. We have sent all over the United States, Canada, Australia, and even Germany and other parts of Europe. We send all types of cards: birthday, good thoughts, sympathy, well wishes, get better soon, and so many more. I am biased but I think the Cricut Card Fairies are the greatest group of caring, sweet, and super talented people around." ~ Crystal, Card Fair Co Commander.

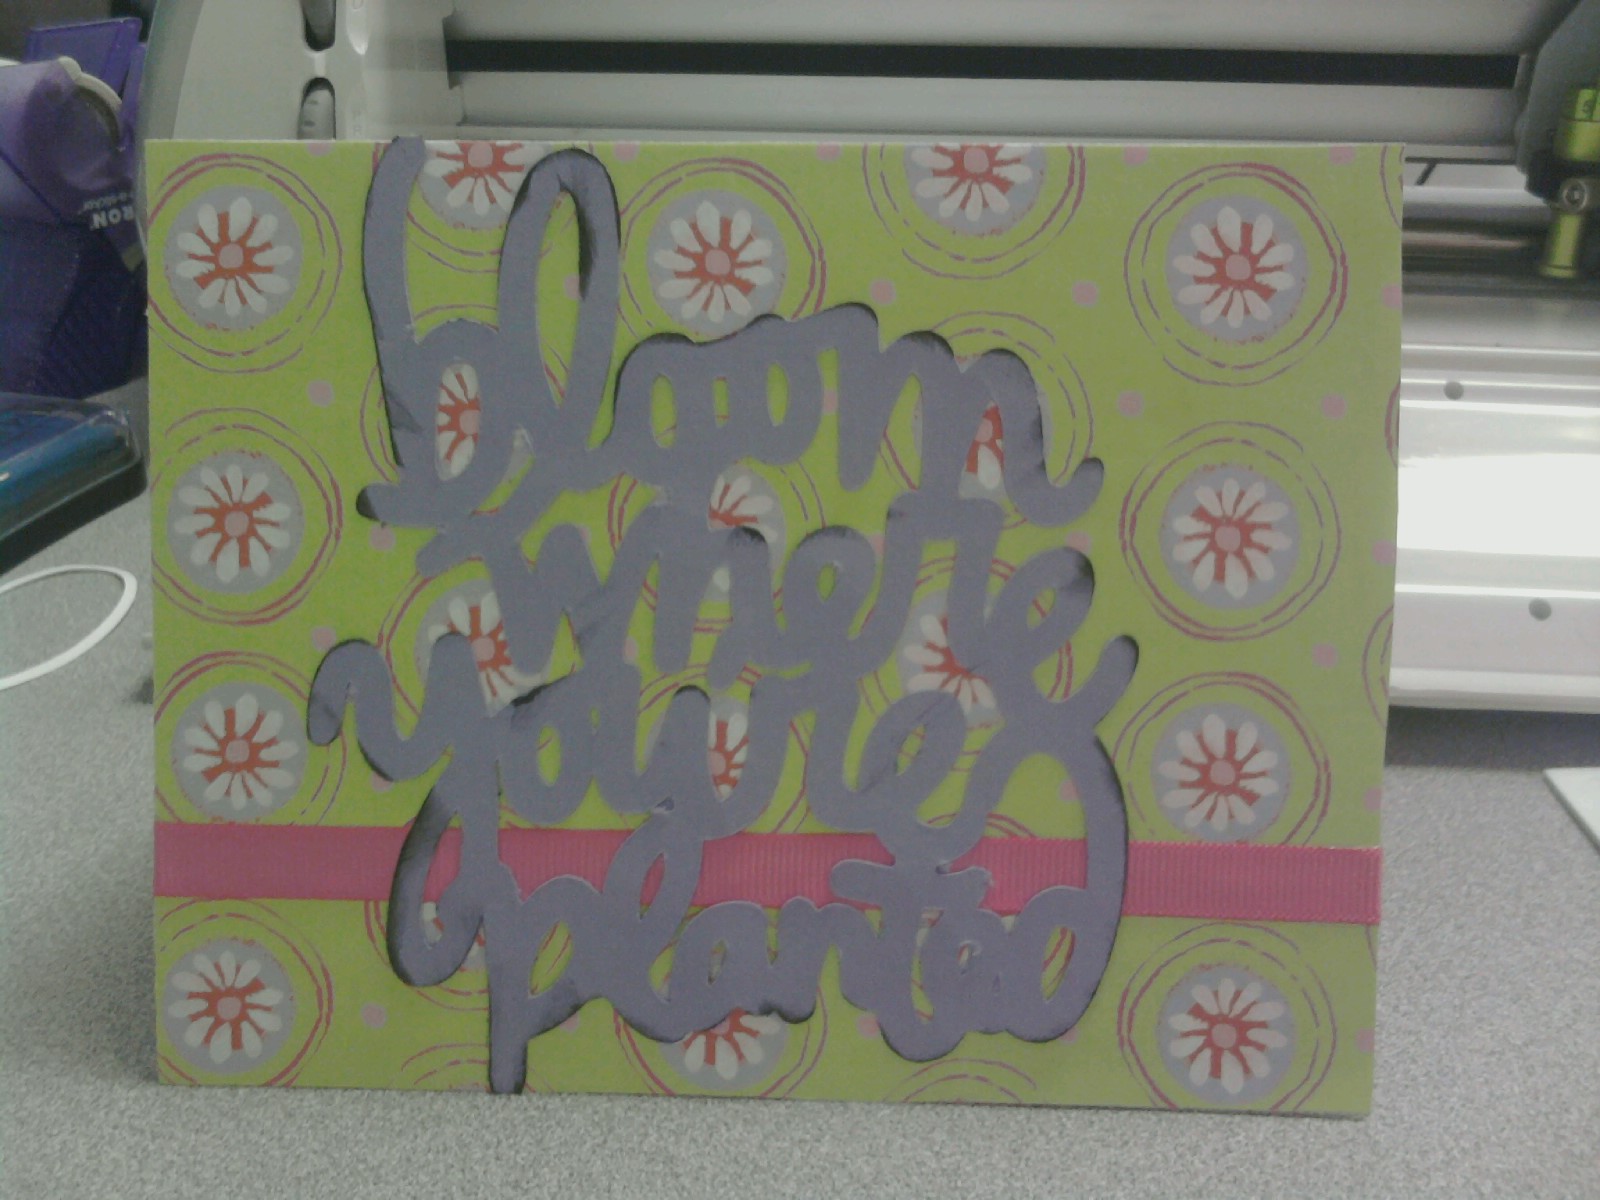
How awesome huh? I have been a part of this on and off for about a year. I personally have had cards requested, and in turn complete my own missions. Its a WIN WIN for everyone! Here are some cards that I made for a few missions back!


Thanks for stopping by, and saying HI! I dont have any blog candy THIS Time.. but next, I will be more prepared! Your next stop is PamelaOsterday at http://blog.pamelaosterday.com/


Now here is the lineup for this whole weekend. We will END THE HOP on Sunday evening. Please pay attention to when each fairy will post their winners (if there is candy!)

LYNNE http://scrapthiscraftthat.blogspot.com/

ScrappyCanuck http://scrappycanuck.wordpress.com

NicoleStorch http://nicolestorch.blogspot.com

GRKIDDO ginathorntonstamping.blogspot.com/

SherylGreene http://sherylscraftingcorner.blogspot.com/

Its-Only-Money http://itsallmymoney.blogspot.com <~~~ You are HERE! PamelaOsterday http://blog.pamelaosterday.com/ StampinMeg http://www.peacockpaperie.blogspot.com/ BeeJay www.beejaysstudio.blogspot.com PennyLight http://lightwhimsy.blogspot.com


If you get lost or confused...ln which I am most of the time, hit any of the links above, or return back to Commander Crystals blog at: http://crystalscraftycreations.blogspot.com/